Preparation
The safe and easy preparation
of gluten-free dishes.
Separate storage
Keep gluten-free products and ingredients strictly separated from those containing gluten. The best strategy is to store your gluten-free foods in their own, separate sealable containers. Mark and/or label your gluten-free products so that there’s no mistaking them. Store your gluten-free products in their own section of the kitchen, or on the top shelf. This helps prevent the accidental contamination of your gluten-free products by products containing gluten.
Separate work areas and dedicated utensils
You should process your gluten-free products in a separate area of your kitchen, using dedicated (reserved) utensils. If this is not feasible, then you should take care to prepare your gluten-free dishes prior to handling foods containing gluten. Then thoroughly clean all of your work surfaces and kitchen utensils.
Use rice flour to dust
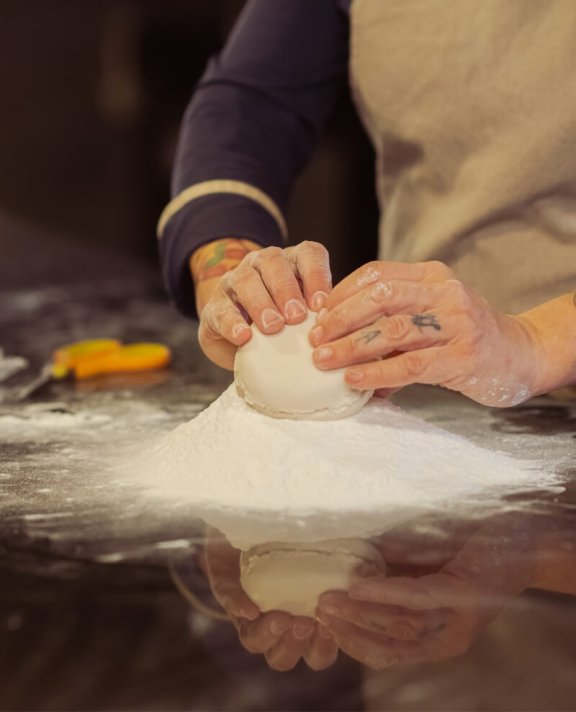
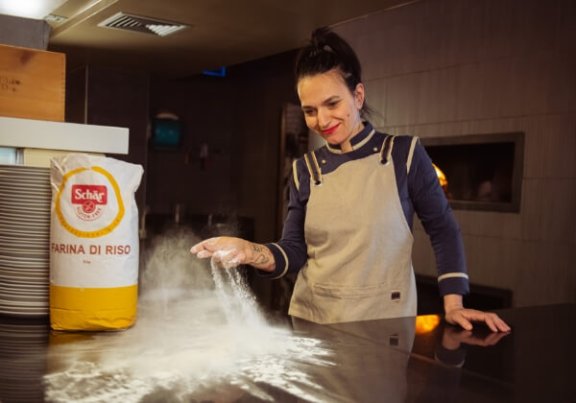
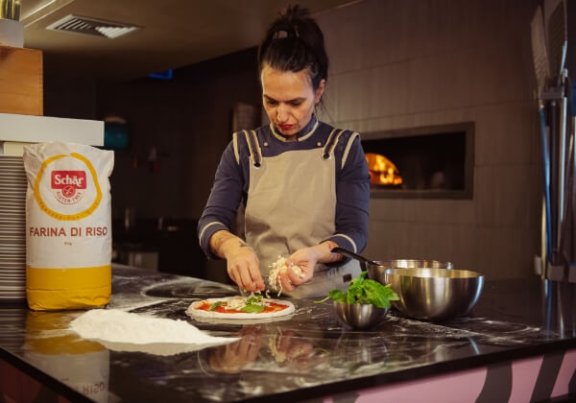
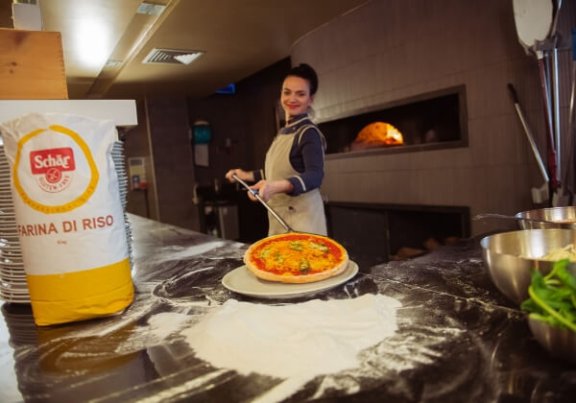
Particles of foodstuffs containing gluten that are floating in the air or resting on surfaces can contaminate your gluten-free dishes. For this reason, you should always use only rice flour to dust your work surfaces or to dust baking pans onto which you place shaped pieces of dough – e.g., when making pizza.


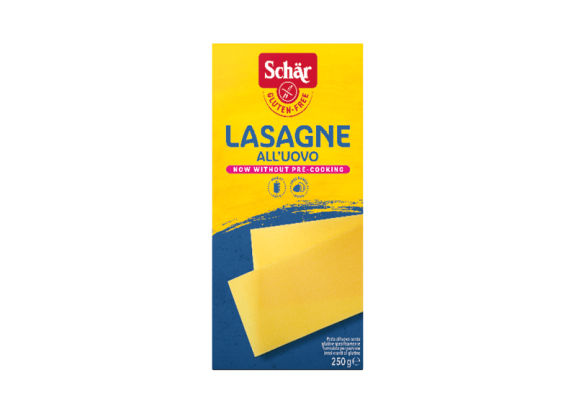
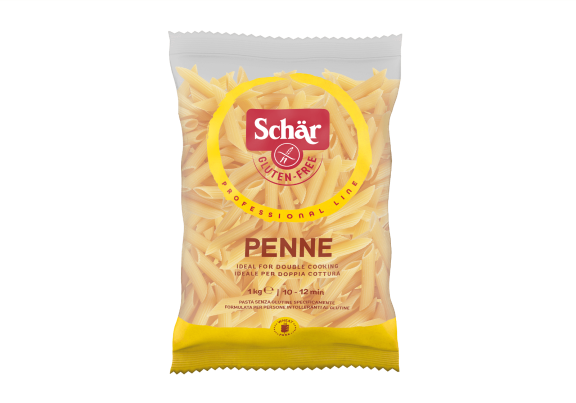
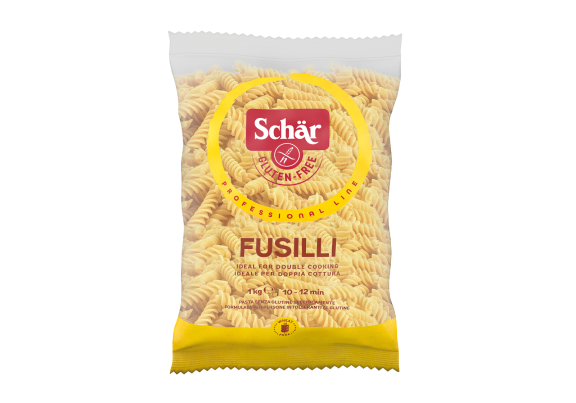
Preparing gluten-free pasta
Double Cooking
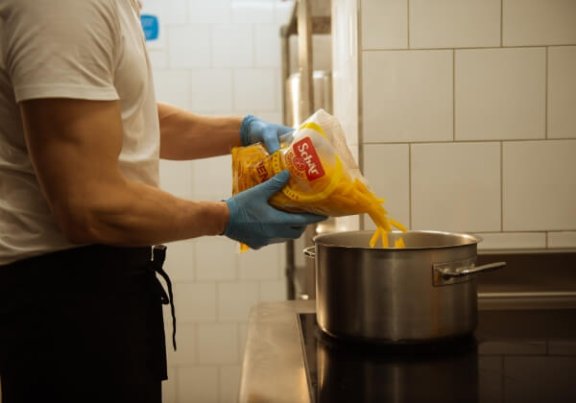
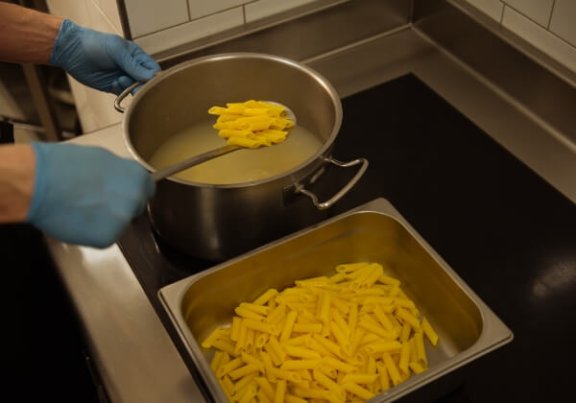
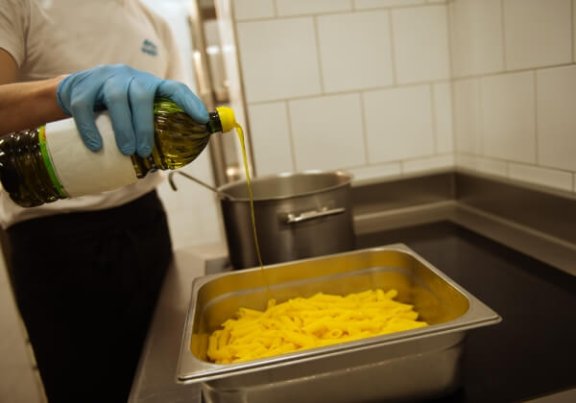
Pre-boil the gluten-free pasta for 5-7 minutes (equal to half of the total cooking time) in salted boiling water. Then thoroughly drain the pasta, add some oil, and cool everything down to 3 °C in the blast chiller. The pasta can now be stored in the refrigerator for up to 48 hours. If you then need some pasta, remove the quantity you need and heat it up in boiling water. Mix in the desired sauce, place onto plates – flagging the portions as “gluten-free,” if appropriate – and serve.
The pre-cooked pasta can also be immediately mixed with the sauce and then heated up in a pan.
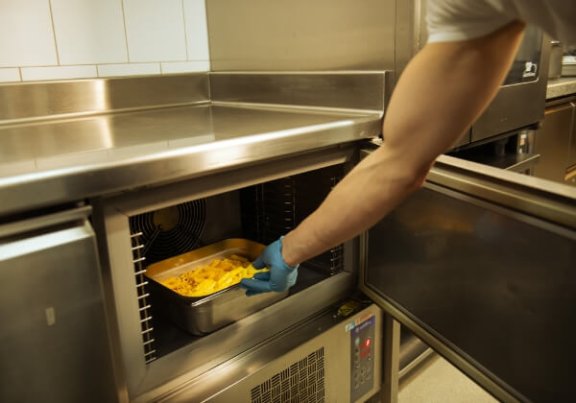
Express Cooking
Place the gluten-free pasta into salted boiling water and, according to the instructions on the packaging, cook until “al dente.” Then drain and mix with the desired sauce. Place onto plates – flagging the portions as “gluten-free,” if appropriate – and serve.
Preparing gluten-free
Pizza Pallina
On the prior evening, take the ball of frozen pizza dough out of the freezer, place it into your refrigerator at 4 °C, and let it thaw for at least 12 hours. Alternatively, thaw the ball of frozen dough for 3 hours at room temperature. The thawed pizza dough can be stored in your refrigerator for up to 48 hours without any loss of quality.
Take the dough out of the refrigerator. Cut open, remove, and discard the transparent film. Then knead the pizza dough for 30 – 40 minutes until it has the proper consistency. As soon as the dough has reached room temperature, it must be immediately processed. You must not return the dough to the refrigerator or freezer.
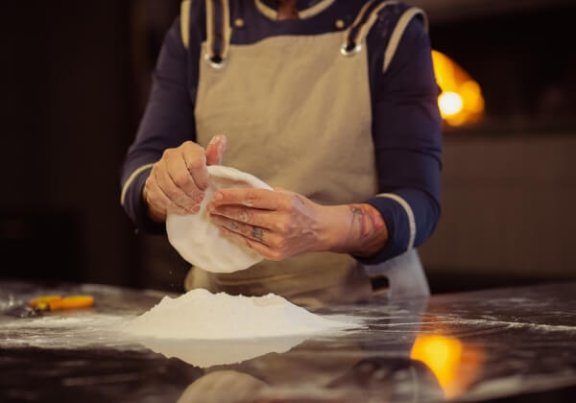
Dust the baking paper with rice flour. Flatten out the pizza dough by hand until it has the desired diameter. Please NOTE: Gluten-free pizza dough should be flattened only by hand. Then top the pizza with your choice of gluten-free ingredients and bake it in the oven on baking paper.
Electric oven:
350 °C in the upper half of the oven
300 °C in the lower half of the oven
for 3 – 5 minutes
Preparing gluten-free
Pizza base
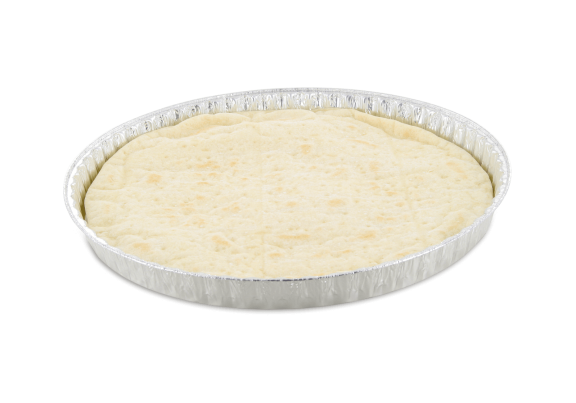
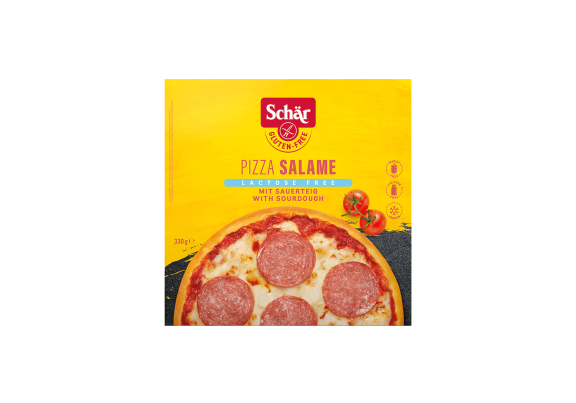
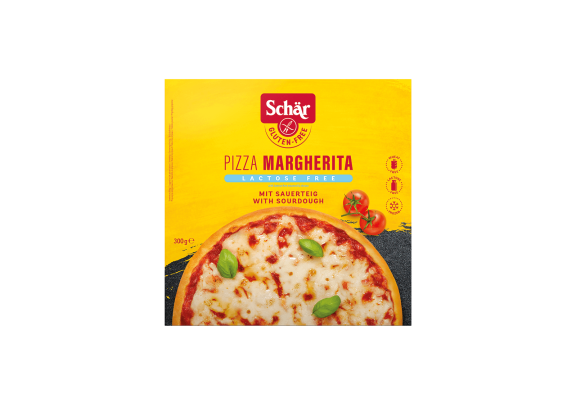
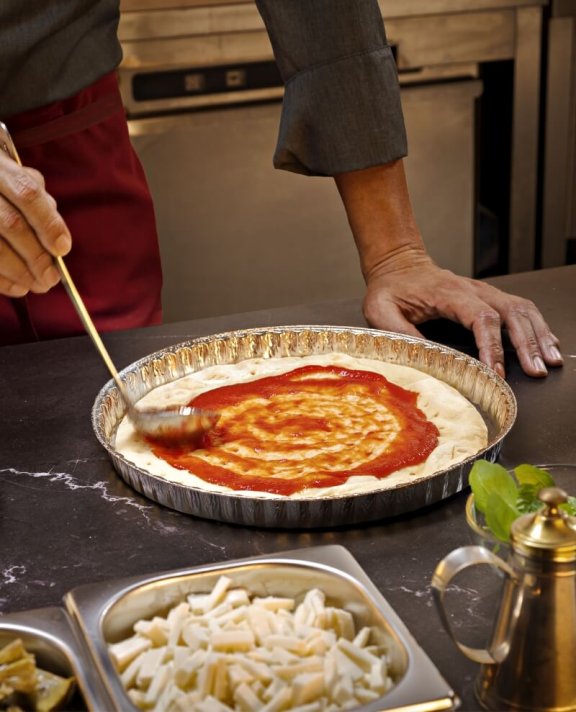
The Dr. Schär gluten-free pizza base is delivered in a practical baking dish so as to avoid contamination. We recommend using gluten-free rice flour to dust the surface.
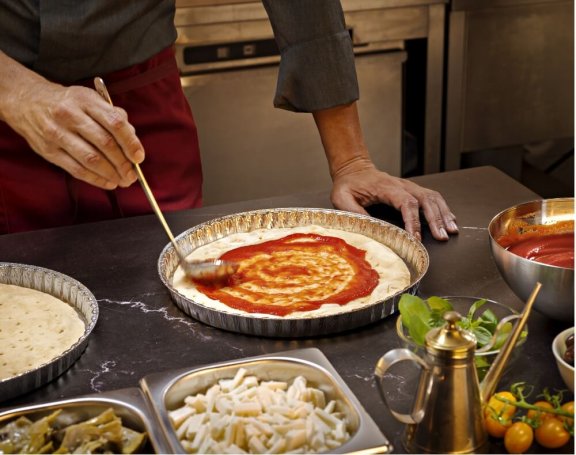
Take the frozen pizza base out of the freeze and let it thaw for 10 minutes at room temperature. You can then immediately begin with the preparation of the pre-baked pizza base. Pre-heat the top and bottom sides of base in the baking dish in the oven for one minute for each side – this is to prevent the condensation of moisture. Then top the pizza with your choice of gluten-free ingredients and bake it in the oven.
Circulating-air oven: 280 °C, 3 – 4 minutes
Wood-stoked oven: 2 – 2.5 minutes
Important remarks for preparing gluten-free pizza
Before adding any toppings to the pizza, make sure that they are all gluten-free. Gluten-free products are usually marked with the international gluten-free symbol – an ear of wheat with a diagonal bar through it.
If you used rice flour to dust all of the surfaces, you can bake the pizza on a separate baking pan in the same oven, together with other, gluten-containing items. Otherwise, you will have to use a separate oven. Gluten-free pizza must never be baked at the same time with gluten-containing pizza in the same oven.
Stick a flag on the gluten-free pizza. The service personnel will thus immediately recognize it as such, and serve it separately.
Preparing gluten-free Dr. Schär pinsa base
Take the frozen pinsa base out of the freezer and allow it to thaw for 10 minutes at room temperature. You can then immediately begin with the preparation of the pre-baked pinsa base. Pre-heat the top and bottom sides of base in the baking dish in the oven for one minute for each side – this is to prevent the condensation of moisture. Then top the pizza with your choice of gluten-free ingredients and bake it in the oven.
Circulating-air oven: 280 °C, 3 – 4 minutes
Wood-stoked oven: 2 – 2.5 minutes
Important remarks for preparing gluten-free pinsa
Before adding any toppings to the pizza, make sure that they are all gluten-free. Gluten-free products are usually marked with the international gluten-free symbol – an ear of wheat with a diagonal bar through it.
If you used rice flour to dust all of the surfaces, you can bake the pizza on a separate baking pan in the same oven, together with other, gluten-containing items. Otherwise, you will have to use a separate oven. Gluten-free pinsa must never be baked at the same time with gluten-containing dishes in the same oven.
Stick a flag on the gluten-free pinsa. The service personnel will thus immediately recognize it as such, and serve it separately.
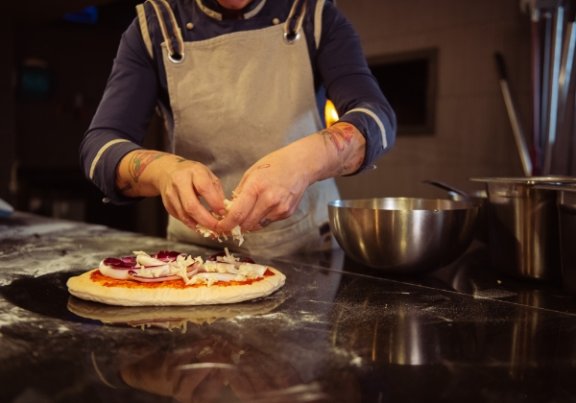
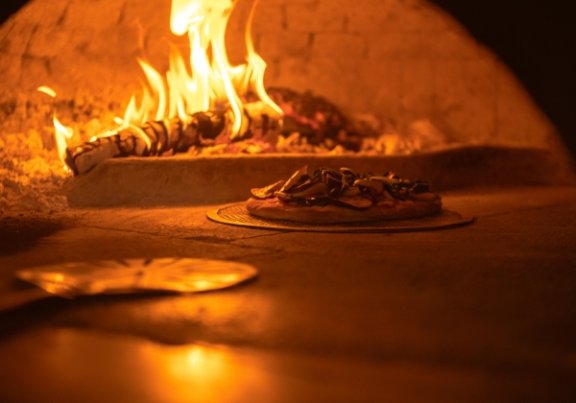
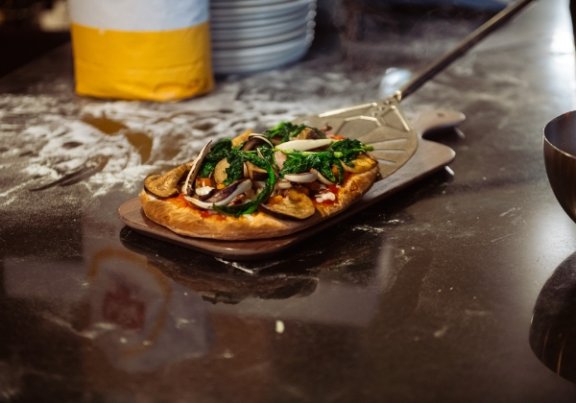
Making your own gluten-free pizza dough
You should prepare the gluten-free pizza dough in a separate area of the kitchen, using dedicated cooking utensils.
Ingredients:.
1 kg of gluten-free pizza mix from Schär Foodservice
4 – 6 grams of baker’s yeast
700 – 800 ml of water
35 ml of oil
20 g of salt
Rice flour to dust the working surfaces
Preparation.
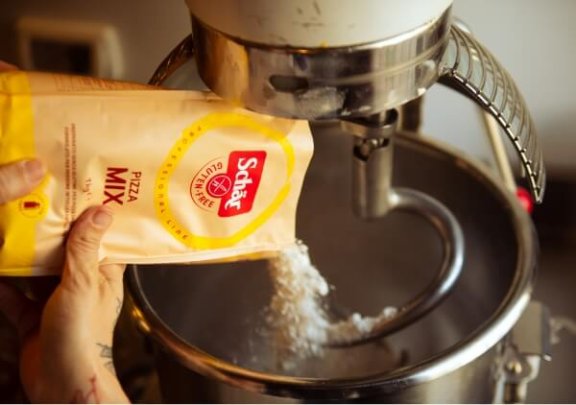
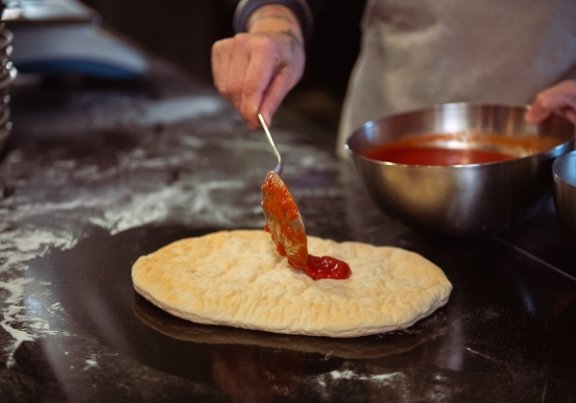
Mix together the pizza mix, the baker’s yeast, and the lukewarm water. Using an electric kneading appliance set to “level 1,” thoroughly knead for about 2 minutes. Then add the oil and salt and resume kneading – for 4 – 5 minutes at “level 2.” The dough should have a smooth, soft, and homogeneous consistency. Please NOTE: Gluten-free dough binds only about 70-80% of the water. If the dough becomes too sticky or too soft, you have kneaded it either too vigorously or for too long – or you didn’t correctly measure the amount of water.
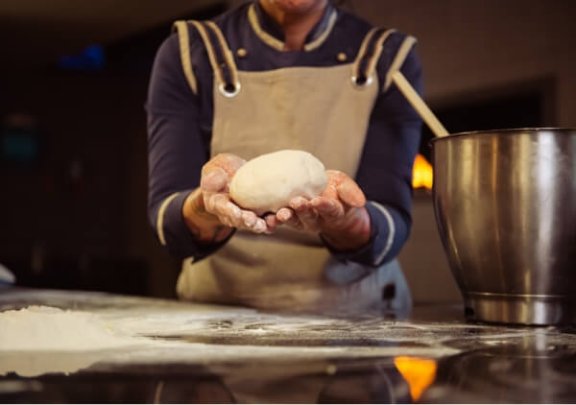
Then allow the pizza dough to rise for 2 hours at 20 °C, or for 12 – 24 hours in the refrigerator. Now shape the pizza dough into balls: For a normal pizza, you’ll require 250g of dough. For a Neapolitan pizza, you’ll need 350g. You can store the balls of dough in your refrigerator for 36 to 48 hours without any loss of quality.
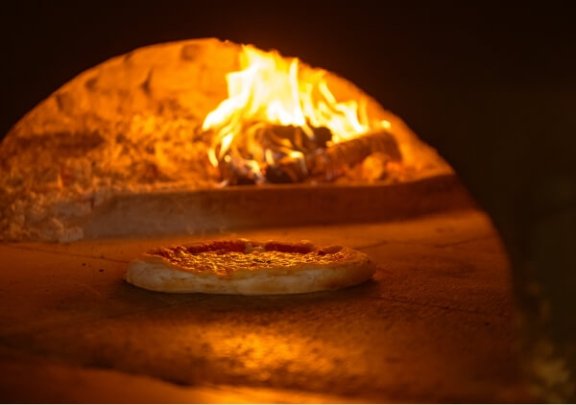
Baking time in an electric oven:
Classic pizza: 320-340 °C for 5 minutes
Neapolitan pizza: 400 ° C for 40 seconds
Tips for the
service staff
- Thorough hand washing before serving gluten-free food
- Gluten-free dishes are best served individually and separately
- Do not place bread baskets on tables with gluten-intolerant people
- Always keep work clothes clean and do not bring them into direct contact with the food
- Watch out for breadcrumbs!
Foodschärvice Academy
Become gluten-free experts for your guests! Secure this growing target group now and stand out from the competition.
News & Events
always up to date
Ongoing updates for all gastro professionals. Schär Foodservice informs you here about news, seminars, events and trade fairs on the subject of coeliac condition.
